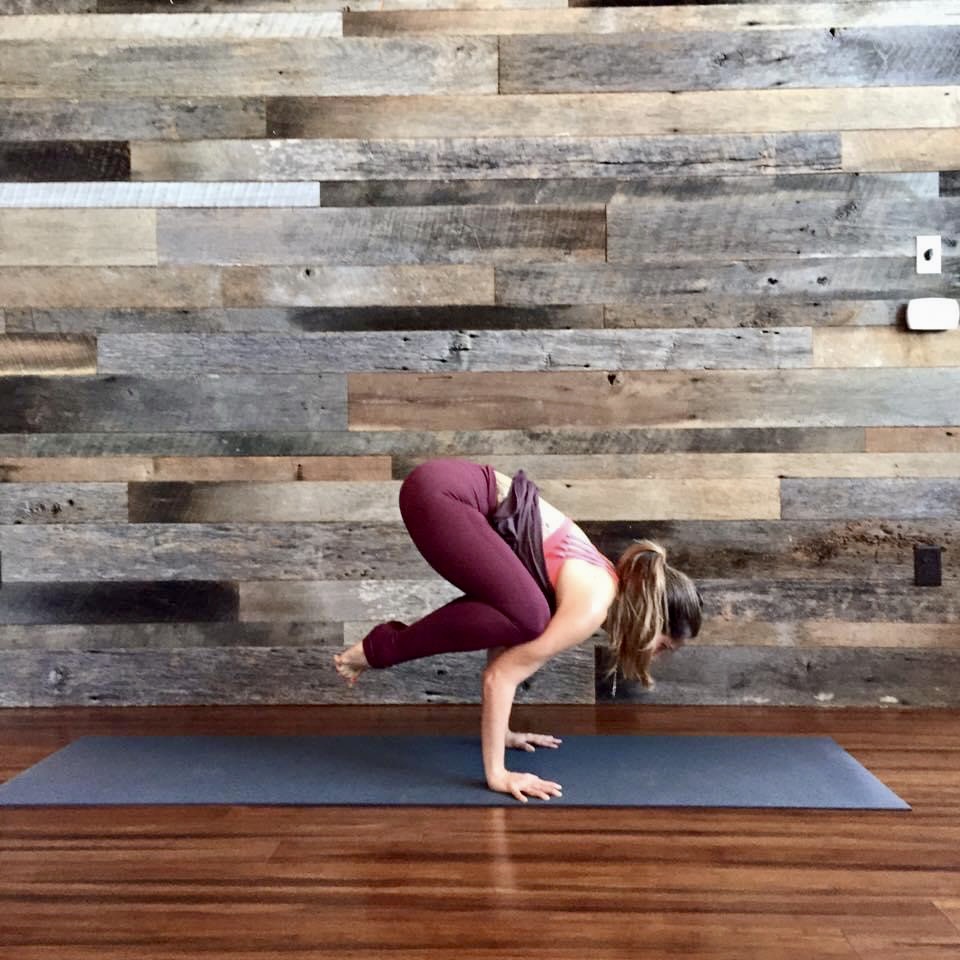
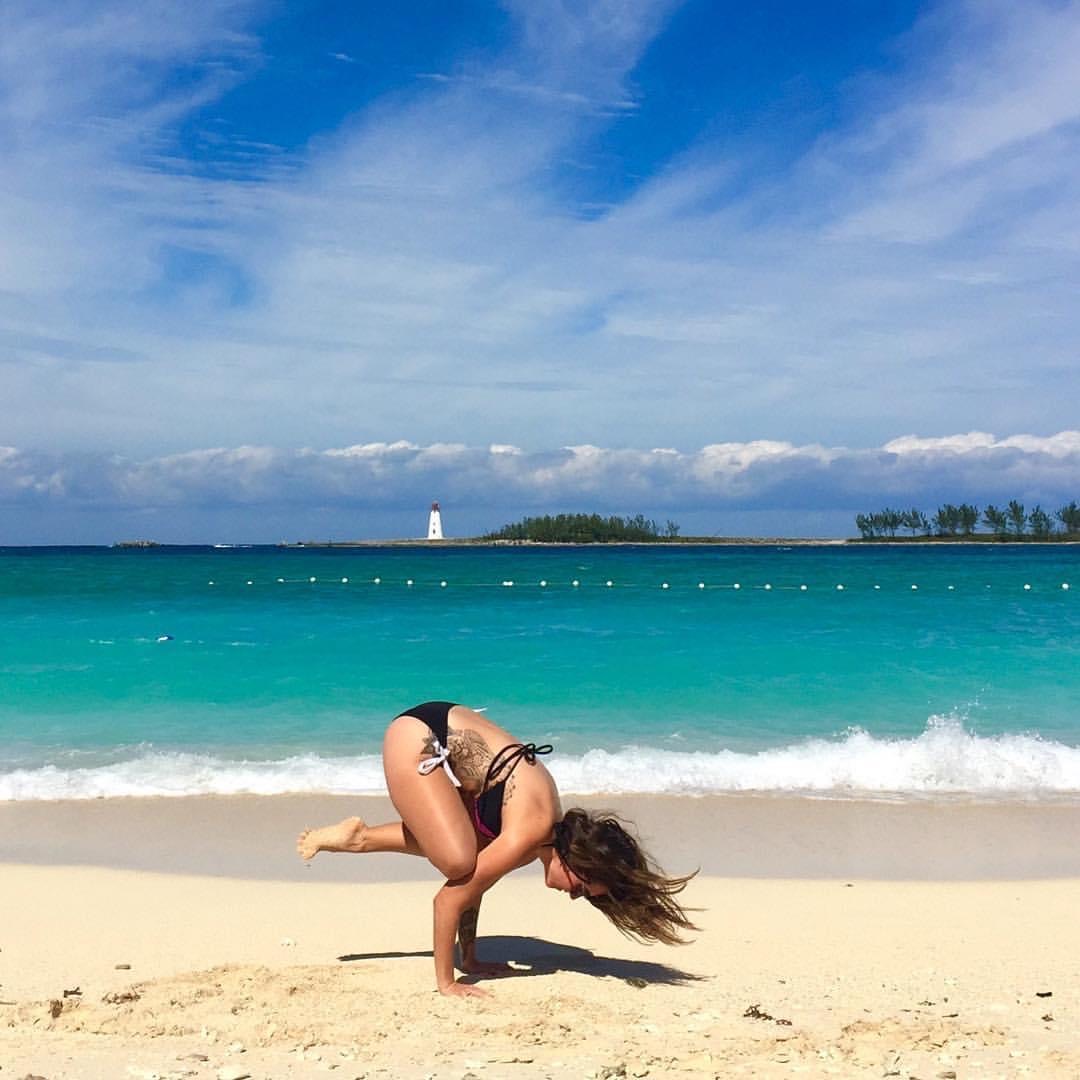
Feeling bored with hip stretches? Try them in a balancing position! A surprising amount of arm balance requires open hips. Once you’ve warmed up with previous poses, try a crow arm balance. Start in a low squat (malasana). Place your palms on the ground, shoulder-width apart, with fingers spread wide. Lean forward, placing your knees on your triceps, engaging your core. Elbows can be slightly bent to start, using dual action, press your elbows out and engage your inner thighs, and squeeze your knees into your elbows and towards each other. Look forward, and lean forward into your arms, probably more than you think you should. Once you feel most of your weight in your arms, slowly pick one or both toes off the ground. Work on holding for at least three to five breaths.
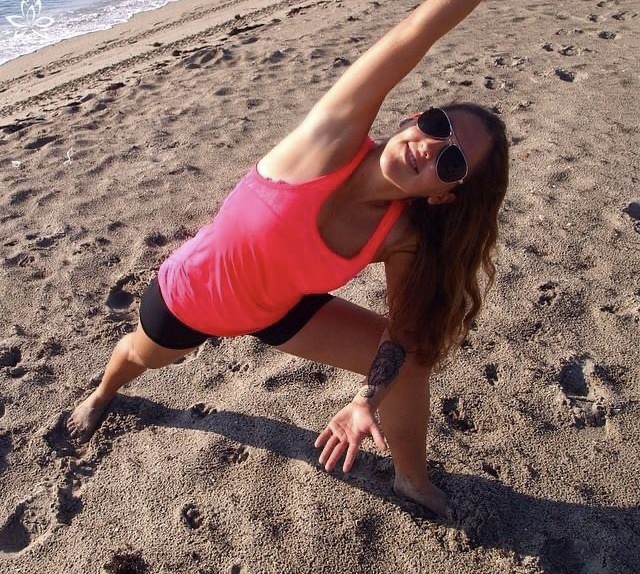
After a warm-up, come to downward-facing dog. From down dog, step the right foot in between your hands. Place the back (left) heel on the ground, making your back foot parallel to the back of your mat. Rise into Warrior II, then lower the right arm on your thigh, with the palm facing up. Reach the left arm over the head, with the bicep parallel to your ear, and your palm facing down. This is a dynamic standing hip opener. Bend into the front knee as much as it feels comfortable, ideally forming a 90-degree angle, but never pushing your knee past your toes. Eventually, your right thigh will be parallel to the ground. Hold for 10 - 30 seconds, breathing deeply. Repeat on the other side, with an optional vinyasa flow in between.
The first pose that first comes to mind when thinking of hip opening, is probably the pigeon pose. From down dog, place your right foot behind your left wrist, lowering your shin down on the ground. The right knee will land approximately behind your right wrist. The more parallel the shin is to the front of your mat, the deeper the stretch, but feel free to take your time and work towards that alignment slowly. In pigeon, hips should be balanced, which means we are not sitting into our gluteus, but both hips are equal distance from the ground. You can use a block to prop your right hip. Lengthen the spine to start, and then stay up or fold forward, coming to your forearms, a block, or placing the head down on the ground. Once you become comfortable in this pose, you can work on reaching your arms up and elongating the spine, finding a deeper stretch as you stack your shoulders over the hips, and gravity naturally pulls the hips down towards the ground. This should be a restorative and relaxing pose, so feel free to hold for 30 seconds up to a few minutes, as long as it feels comfortable. Breathe deeply, and relax your hips, shoulders, and neck. Repeat the same amount of time on both sides, with an optional vinyasa in between. As simple as this pose may seem, it is actually quite deep and it doesn’t necessarily feel good to everyone. If you feel any discomfort in your knees, ankles, or hips, take a pigeon pose on your back. Lay down, starting with your knees bent and feet on the ground, and place the right ankle on your left knee, creating a figure four. For a deeper stretch, pull the left knee in a bit closer.
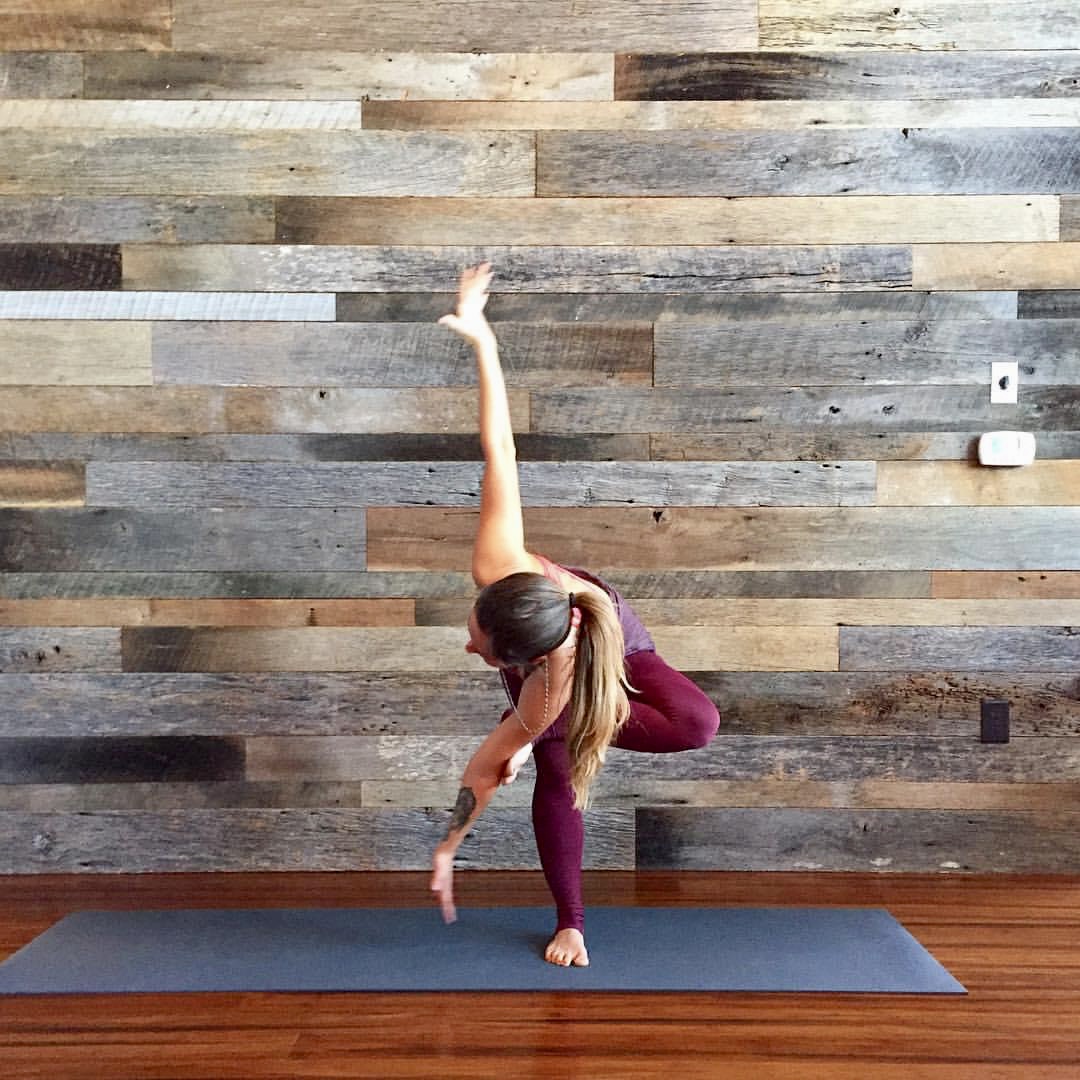
Another great variation to the pigeon pose is the standing pigeon, or figure four. Start in a chair pose, bring your weight into your right leg, placing the left ankle on your right knee. Find your balance, maintaining your breath deep and steady. Few options for the arms; the first is reaching them up with biceps parallel to your ears, like in a chair pose. The second is placing the elbows on your shin, and leaning back into your hips. The third option is twisting, as shown in the picture, for an even deeper stretch. You can keep your palms together, with elbows flaring out, or open the arms wide, reaching the fingertips in opposite directions. Breathe here, holding for 10 - 20 seconds, then release slowly and repeat on the other side.
From standing in figure four, you can progress into another arm balance, the grasshopper pose. This pose definitely requires open and flexible hips, as well as strength and balance - a full package. It’s a fun pose to play with, and always remember, no one gets it on the first try. Starting in standing figure four (right foot down, left foot on right knee), bring the palms together, and twist to the right. Place your left elbow into the arch of your left foot. From here, bend the standing knee and turning to the side, place both palms on the ground, in the same setup as the crow pose. From here, lean into your arms, bend the elbows, and press the foot on your elbow or tricep. Make sure you are not slipping (being as dry as possible helps here). Engage your core, bend the elbows and lean forward, finding the balance in your arms. Once you feel it, slowly lift the bottom toes off the ground, and extend the leg. Hold for three to five breaths, and repeat on the other side.
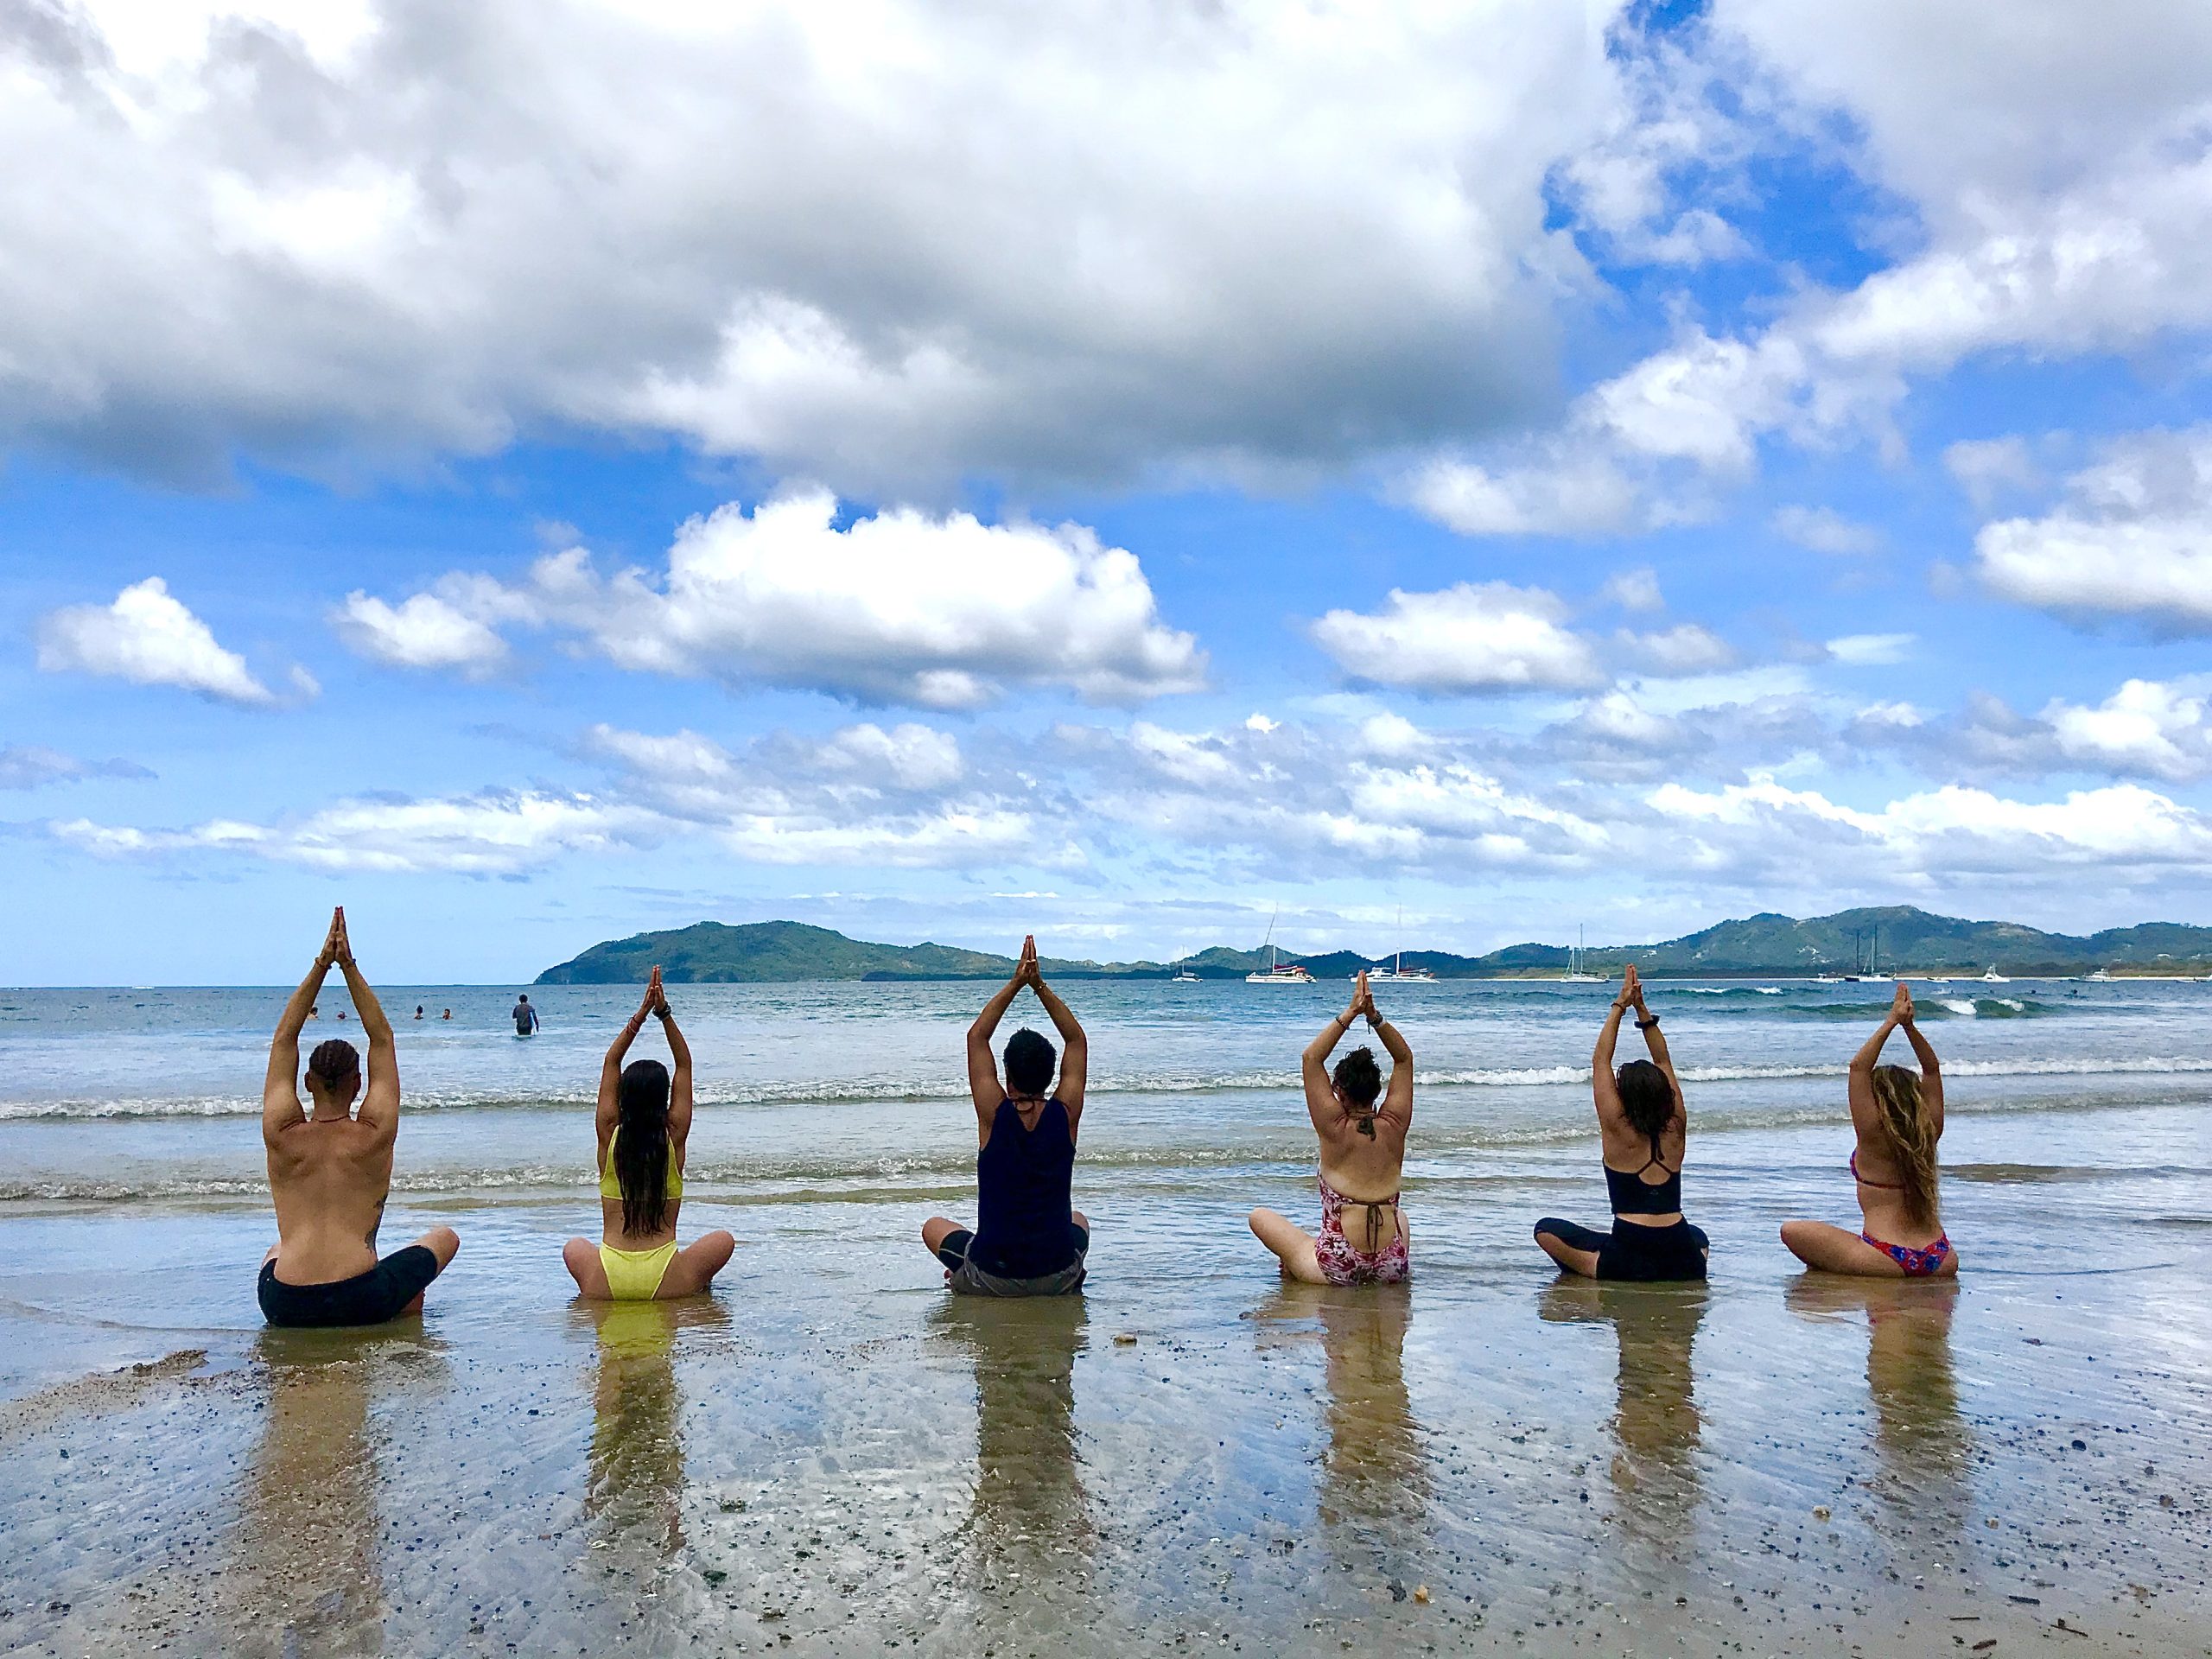
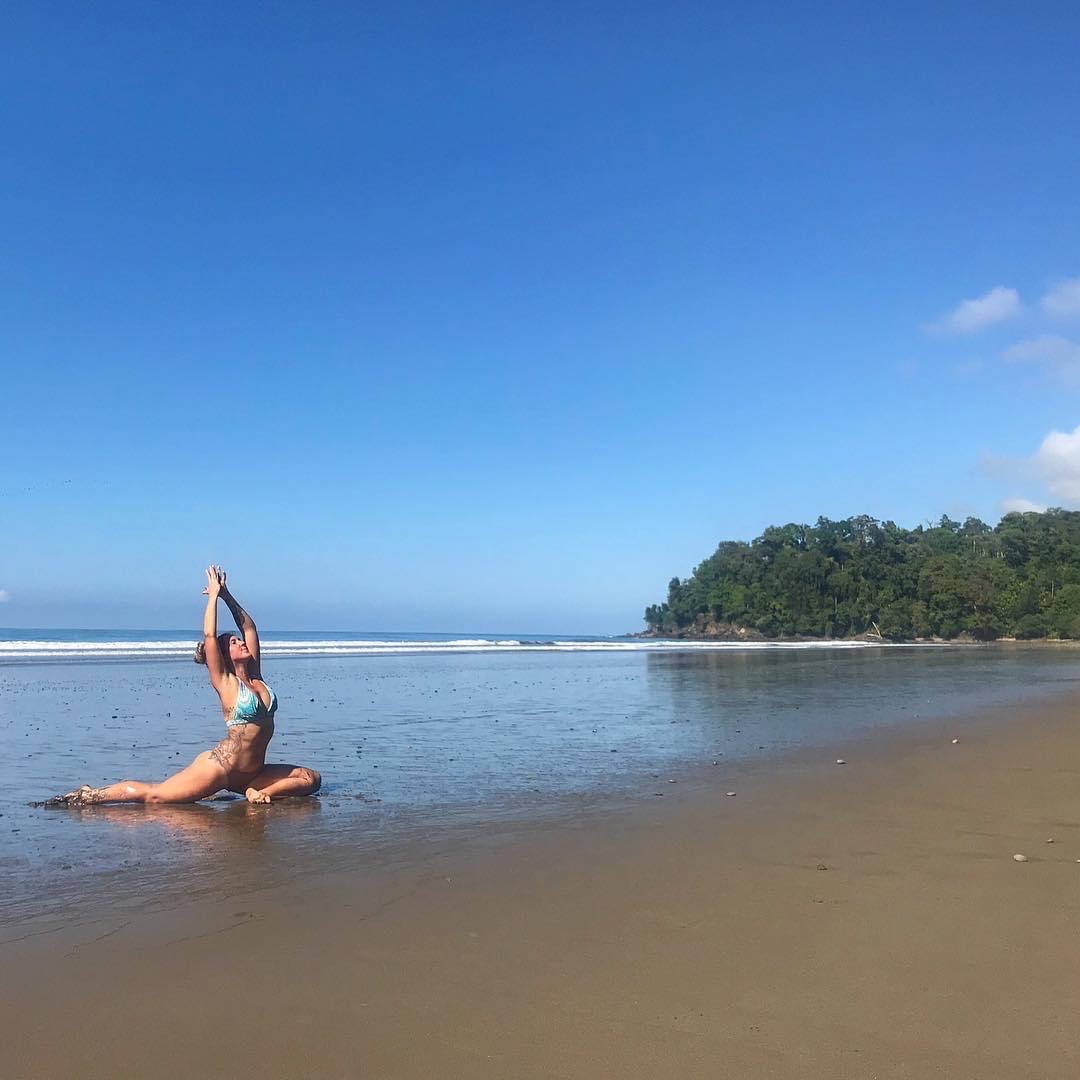
Finishing up with one of the signature yoga and meditation poses. Although lotus seems to be on every yoga picture these days, it is not a pose easily available to everyone. This is another deceivingly advanced asana. It requires open hips, and open and healthy joints, including ankles. That is why I advise you to end your dynamic hip opening sequence with padmasana, only after practicing a few hip stretches. Alternatively, you can practice half lotus or easy seat (sukhasana). Starting in a seating position, place your right ankle on your left thigh, as close to the hip crease as possible. Flex your food, which will protect the knee. Once you got this, you are already in half lotus or ardha padmasana, you can simply keep the left knee bent with the shin on the ground. Once half lotus becomes your regular practice, work on full lotus by bending the bottom (left) knee and placing the foot on your inner right hip crease. Flex both feet, relax the knees and let gravity naturally pull them towards the ground. If you feel any pinching or pain, slowly release and rest. Hold for a few breaths, slowly working on increasing your time in this pose. Once it becomes your daily practice, I invite you to sit in lotus while you are at home, watching TV or reading, and I promise you will always have happy healthy hips!

Finish your hip opening sequence with a few moments in savasana, the final relaxation. Enjoy your breath, close your eyes, and relax each and every muscle of your body. Reward your hard work with a few moments of stillness.
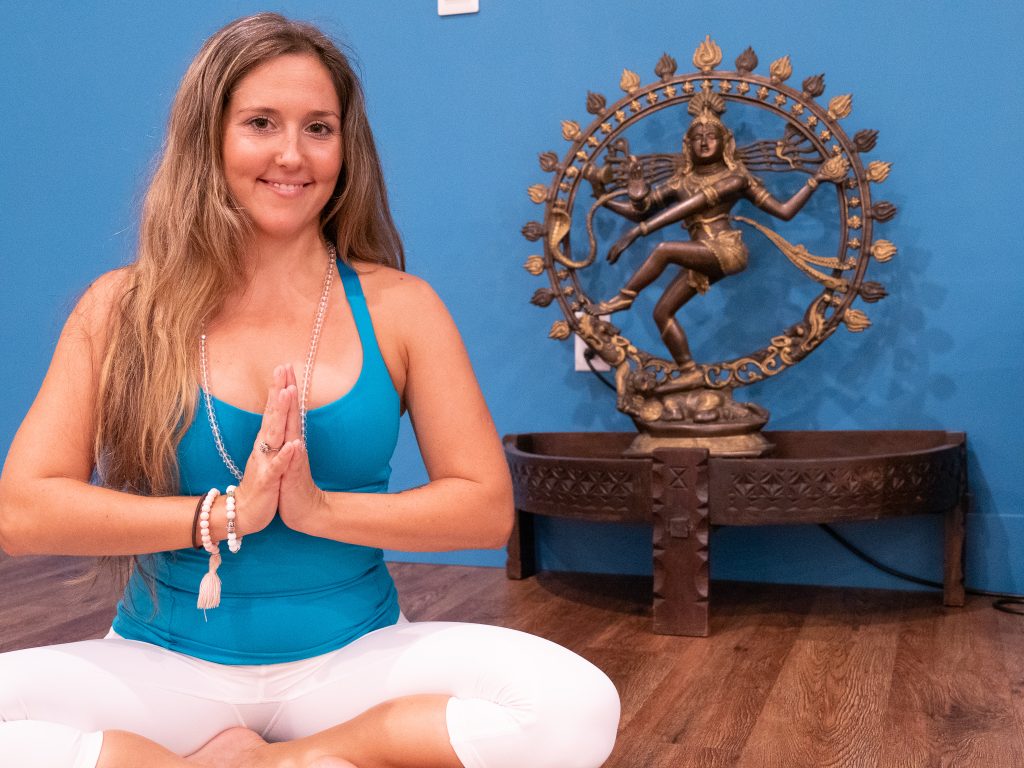
Matea Zajec is a yoga and meditation teacher, an Ayurveda health coach, a Jyotishi astrologer, and a Reiki energy healer.
Among her many passions, yoga has been the most transformational. Matea pursued a degree in Eastern Religions and philosophy and has lived in an ashram for a few years, immersing herself in yoga philosophy. She is the founder of Hari OM Yoga & Wellness, a school of Yoga and Ayurveda, where she teaches yoga teacher trainings, workshops, and retreats and is dedicated to bringing yoga practice and teachings to as many people as possible.